Database Was Damaged? Restore SQL Database
An accidental change can delete useful data while the database stays online. Geo-replication also copies that change to the secondary. Restoring a backup recovers an earlier state into a separate database, where you can check the recovered data before using it. This lab simulates damage by deleting a test table and uses point-in-time restore (PITR) to recover it.
Prepare Test Data
Use sqldb-cloudtrips from Create Azure SQL Database. If you completed the failover-group trip, use whichever server currently hosts the primary; the restored database will be created on that server.
Connect to this lab database through VS Code or Query editor (preview). Run once:
CREATE TABLE dbo.RestoreCheck (
    Id int PRIMARY KEY,
    Note nvarchar(100)
);
INSERT INTO dbo.RestoreCheck VALUES (1, N'Keep this record');
After successful execution, wait one minute, then run:
SELECT SYSUTCDATETIME() AS RestoreTimeUtc;
SELECT Id, Note FROM dbo.RestoreCheck;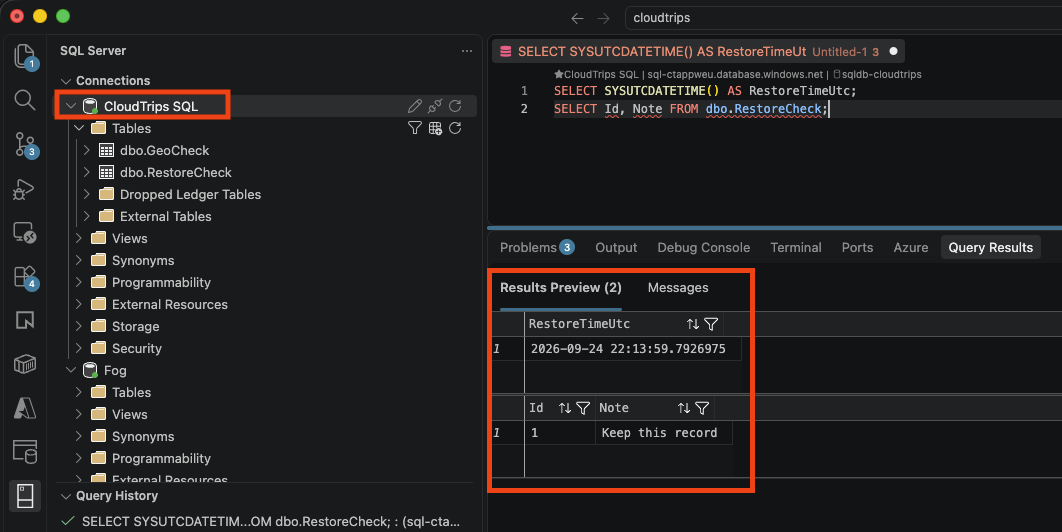
Save RestoreTimeUtc exactly as shown. It is your recovery target, after the row was committed. Check row 1 contains Keep this record; your timestamp will differ.
Simulate the Mistake
Wait another minute to separate the recovery target from the mistake. In the same lab database, run:
DROP TABLE dbo.RestoreCheck;
SELECT OBJECT_ID('dbo.RestoreCheck', 'U') AS TableObjectId;
Expect NULL: the test table is gone. This removes only the table created for this exercise.
Restore the Earlier State
Open the primary sqldb-cloudtrips → Overview → Restore. Configure:
Restore point: Saved RestoreTimeUtc
New database name: sqldb-restored
Server: Same server as the source (fixed)
Compute + storage: Review the selected capacity and cost
Check the portal’s time-zone label and convert your UTC timestamp if required. The chosen time must be inside the available restore window. If it is too recent, wait for backups to cover it and refresh; newly created databases also need their initial backup to complete. A Hyperscale source restores into Hyperscale.
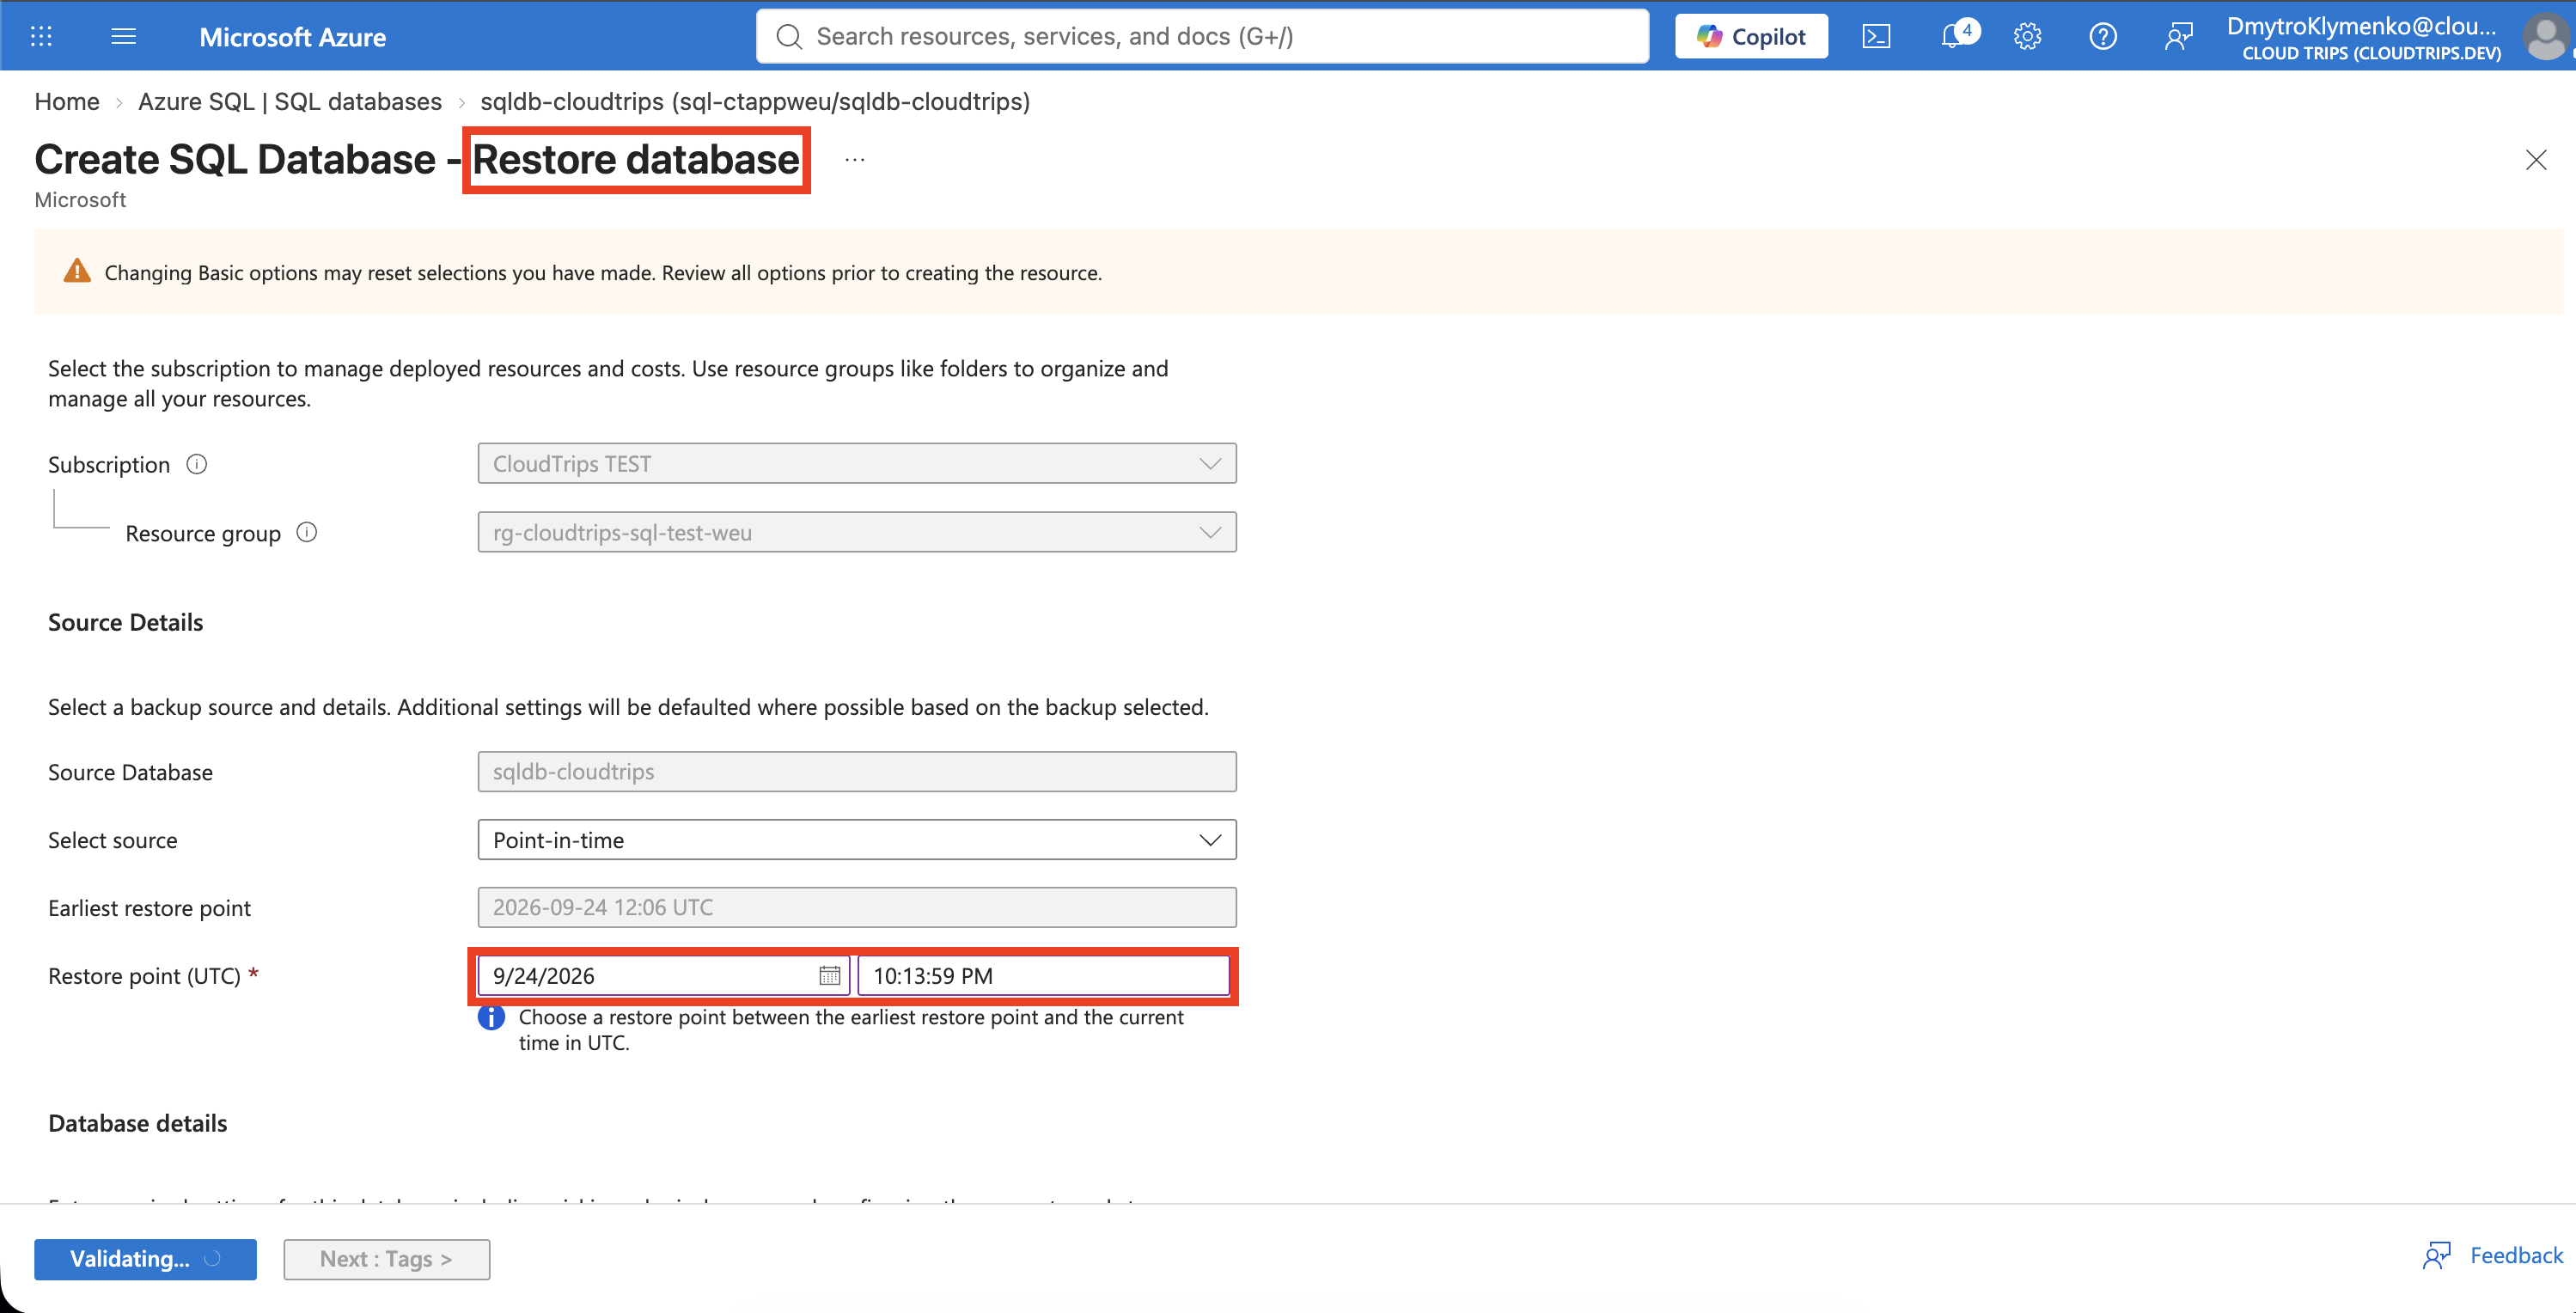
Compare the restore time with your saved timestamp and confirm the new database name. Select Review + create → Create and wait for completion. Azure creates a separately billed database and preserves the original.
Verify the Recovered Data
Connect directly to the source’s SQL server with sqldb-restored as the database. Use the server’s admin credentials and run:
SELECT DB_NAME() AS DatabaseName;
SELECT Id, Note FROM dbo.RestoreCheck;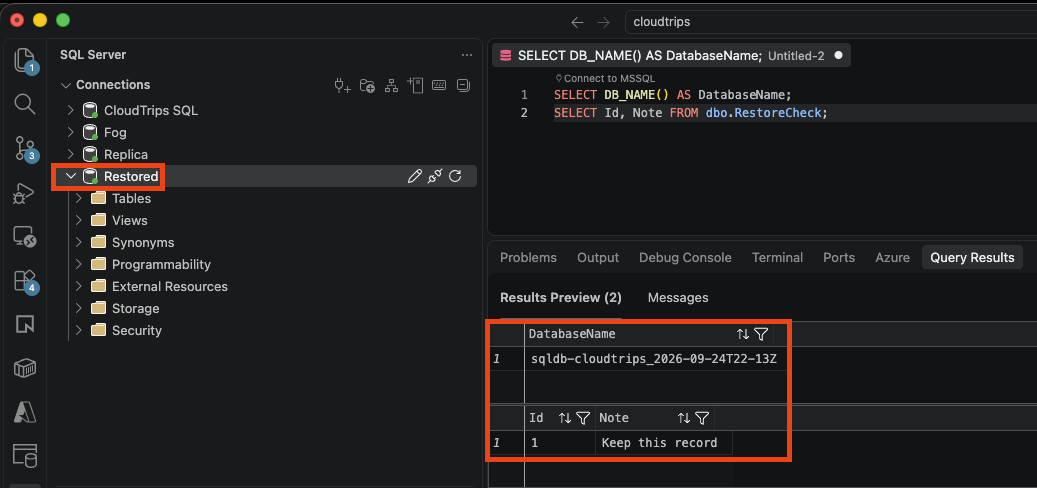
Expect sqldb-restored and row 1, Keep this record. The original database still has the deleted table missing. The restored database is separate from the existing failover group; the group’s listener continues to serve the original database.
For a real incident, validate the recovered data, then copy the needed records back or plan an application switch. A full switch also rolls back valid changes made after the selected time.
Clean Up
Delete sqldb-restored after verification. Keep the original database for later trips; retain its server and resource group while you still need its backups.